Cleaning your bass drum pedal is essential if you want to get the best performance out of it over a long period of time. Regular cleaning will keep dirt and grime from building up in a bad way, and will help keep the moving parts such as drive systems, linkages and hinges working smoothly and efficiently for optimal performance.
How Often Should You Clean and Maintain Your Bass Drum Pedal?
This answer will be different for everybody since drummers are using their pedals under different conditions. If you’re primarily using your pedal in a clean environment you probably won’t need to worry about cleaning it as often, and when you do clean it you probably won’t need to do a very deep clean. If you’re using your pedal in grimy, dusty or dirty environments such as garages or even outdoors you’ll probably want to clean it more regularly for best performance, and you might need to do more of a deep clean. But it’s really up to you and how much effort you want to put into keeping your pedal in optimal condition and working order.
Personally, I like to do at least some minimal cleaning and maintenance on my pedals at least every 3-6 months if they are being used regularly, and sometimes more often if I’m playing gigs or practicing in less than clean locations. I like to deep clean every year or two for regularly used pedals, which includes taking them fully apart.
The funny thing about bass drum pedals is that it’s not uncommon to find that they can still perform just fine even when they get very grimy, so it can be easy to let it go until you run into noticeable issues with performance. Issues can include bearings not working as smoothly as they used to, squeaking from hinges and springs, and parts coming loose or just flat out breaking.
If you are the type of person that likes to flip gear more often and sell your pedals it’s very worthwhile to do more regular cleaning and maintenance to keep them in better condition, which can make it easier to sell them and to also get a better sale price.
Disassembling Your Bass Drum Pedal
In most cases you will want to partially or fully disassemble a bass drum pedal for cleaning and maintenance. You might not always need to for light cleaning, but for deep cleaning you definitely will want to take it apart. My rule of thumb is to only take it apart as much as you need to for the job at hand.
Most beginner to intermediate level pedals can be disassembled fairly easily but it can take some time if you’re unfamiliar with how it’s all put together. Some of the more advanced pedals can get more tricky depending on what type of drive system and features it has onboard, but for the most part you should be able to take most pedals fully apart if you want to take the time to do it.
Take photos of your pedal and the parts as you take it apart. This can really help when putting things back together. It also helps to lay out the parts in a way that helps you remember where they went or how they were assembled. It’s a good idea to study the construction of the pedal if you are taking it apart for the first time and even make notes or quick sketches of how parts are assembled. This might seem like overkill, but there’s nothing worse than taking something like a bass drum pedal apart and not being able to figure out how to put it back together correctly.
I also like to write down a list of all the tools required to take any particular pedal apart. Some pedals can require several different sizes of hex keys and wrenches for the various parts, and during the first disassembly you’ll quickly learn what you need. Generally, a set of hex keys (Allen wrenches), socket wrenches and a phillips/flathead screwdriver will be enough to get the job done.


Disassembling an Iron Cobra Pedal
Removing Dirt, Dust and Grime
Once you have your pedal partially or fully disassembled it’s time to start cleaning the parts. In many cases you can use a damp or dry microfiber cloth to just wipe the parts down unless they are more grimy. I prefer to start with a dry cloth, and then ramp up from there if needed. Go through and wipe all the parts down to remove any dust or grime from the surface and from any crevices. If you run into tough spots, then it’s time to get some cleaning solutions involved.
For parts like the foot boards, heel plates, base boards and frames/posts – you can usually just soak them in a degreaser mixed with water, then use a brush like a toothbrush to remove the grime, then dry thoroughly. Dish soap usually works fine. Avoid using corrosive cleaning solutions. After washing parts with water and degreaser it’s best to manually dry them right away and then further dry with a fan to quickly remove moisture. Personally, when I’m drying parts I put them in front of the exhaust port on my dehumidifier and run it on high for a short time, which removes all the moisture even from grooves and crevices quite effectively and quickly.
For metal parts in the cam and drive systems and any linkages, chains, springs or hinges I like to use cleaning solutions that are designed to clean, protect and lubricate metal parts all at the same time. Gun cleaning solutions like Rem Oil or Break Free CLP can work well for these purposes. Spray the parts with the cleaner, wipe clean and then leave them sitting on a towel for a while so any excess cleaner or lubricants can drain out from tough to reach spots.


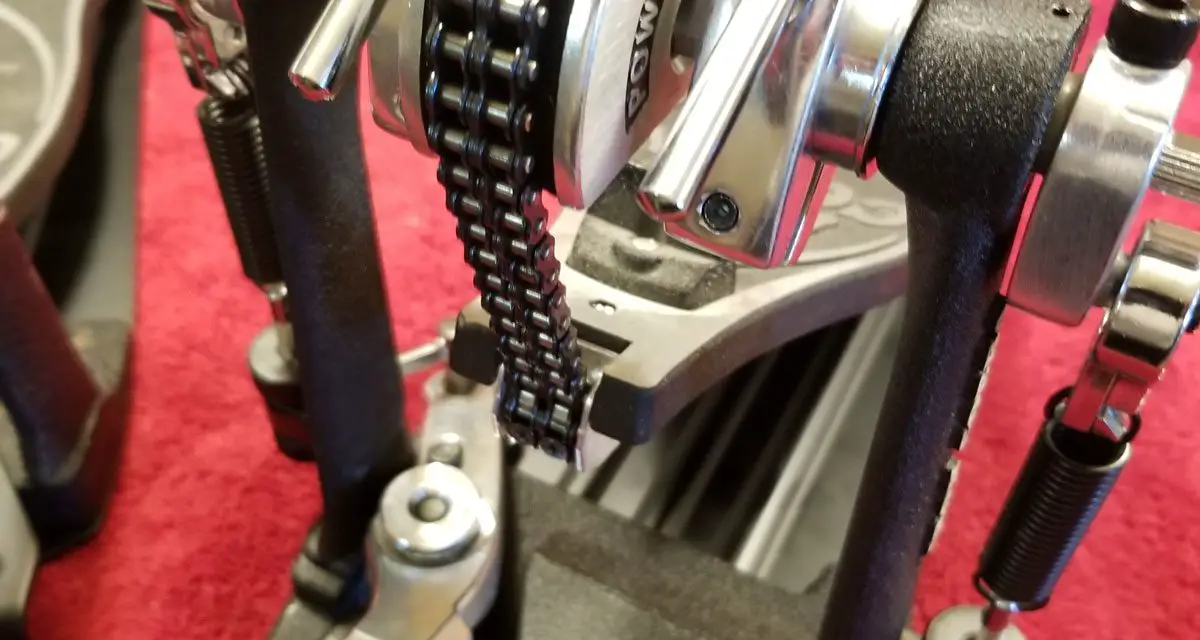
Cleaning Chains
Excessively grimy chains can be deep cleaned if needed. I like to start by just pulling the chain through a microfiber cloth a few times to dry wipe it and see how well that works. If that removes most of the visible grime and the chain still moves fine I usually won’t do much more than that. Chains that starting to gum up more or lose movement can be deep cleaned and lubricated with bike chain or gun cleaning solutions.


Bearings
Inspect your bearings while you have your pedal disassembled. If they are making noise during operation, seizing, scraping or rattling they may need to be replaced. You can always try adding lubricants to see if that fixes any issues first before replacement.
Don’t ever wash bearings, only wipe down the outside of the casing if needed. I don’t really ever do much with bearings except for adding a little more grease or oil if needed. Bearing replacement is possible as well if the bearing are worn out. You can find replacement bearings for most bass drum pedals from the manufacturer or aftermarket parts providers.

Cleaning Solutions and Lubricating Parts
There are a lot of cleaning solutions and lubricants that can be useful for bass drum pedal maintenance.

I like using Break Free CLP for cleaning metal parts in the cams, linkages and hinges, and 3 in 1 oil for spot lubrication as needed.
Cleaning solutions can be useful for more thorough cleaning and also for protecting the parts after cleaning. Some cleaning solutions that both clean and lubricate metal parts are:
If your pedal has any painted surfaces or rubber surfaces and parts I’d recommend to fully investigate any cleaning solution to make sure it won’t damage those. To be safe, try to use cleaning solutions only on metal parts and use water with non-corrosive degreaser (dish soap) for anything else.
Specifically for lubricating:
Lubricants from drum manufacturers:
I’ve seen some people use WD-40 for cleaning and lubricating bass drum pedals but general consensus is that it’s not a good idea and I wouldn’t recommend using WD-40 on bass drum pedals. It’s primarily a water displacer, it can collect dust and grime before it fully evaporates, and it doesn’t offer long term lubrication. There’s just better options out there.
When lubricating parts that I’ve just cleaned, I prefer to let them sit overnight on a towel so that any excess oil or fluid can drain out before I put them back on the pedal.
Reassembling The Bass Drum Pedal
After you get everything cleaned up to your liking, it’s time to put it all together. This is where you find out how well you payed attention when taking the pedal apart. Some pedals can require a little bit of patience when trying to get everything back in place, and it might feel a bit like a puzzle. When tightening any screws or bolts take care to not over-tighten anything which could damage parts.


Once everything is reassembled, test the beater swinging action and anything else that moves to make sure it’s all working smoothly. You’ll also need to go through and do a basic pedal setup again in terms of aligning beaters, setting up beater angles, setting spring tension and all that good stuff. After that, you are back in business and ready to play drums with a pedal that feels like new again.


